Saturday, November 06, 2010

R2 at the Adelaide Comics Centre

Even though R2 is not complete I was invited by the Rebel Legion to take him down to the Adelaide Comics Centre in Rundle Mall to raise money for the Cancer Council

It was good to get an idea of how it runs and what falls off - just had an issue with the motor shaft and cog sliping on the right foot and some issues with the jedi control electrics but overall a successful day


Sunday, September 12, 2010

more foot progress

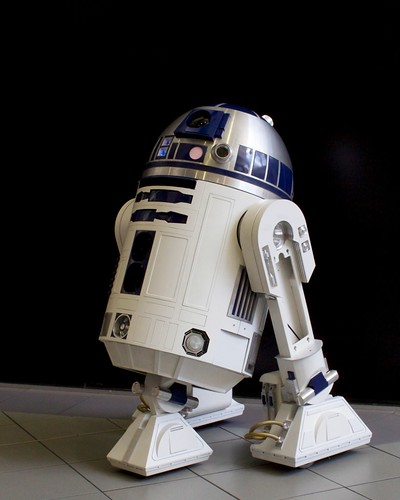
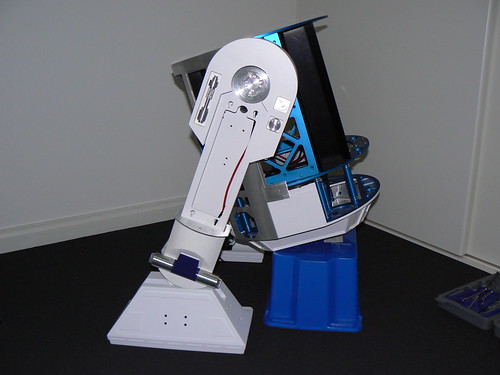
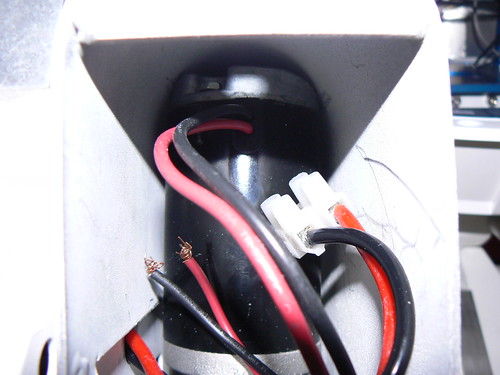
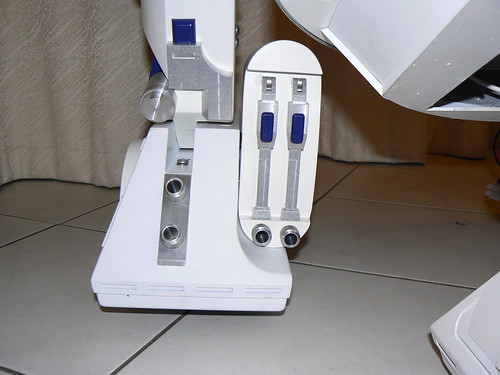
Good progress over the weekend working on the battery boxes and getting them to fit over the NPC motors
I had filed the motors down a little but realised they need more filing off them to make them fit correctly inside the battery boxes
A quick trip to Bunnings and 1 hour later I have angle grinded the motors down

NPC motor inside the battery box

NPC motor inside the battery box

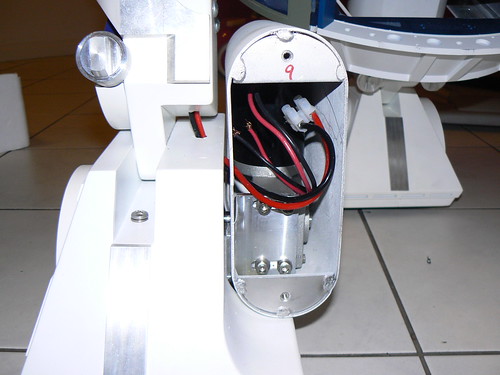
Still a bit of a struggle to get everything lined up

struggling to make everything fit together

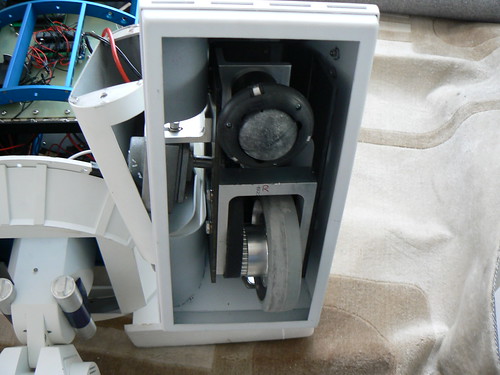
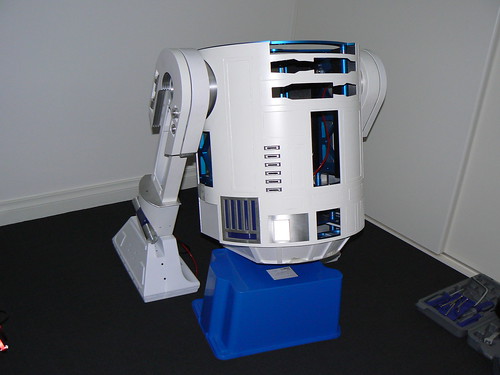
but eventually the motors/foot shells and battery boxes all fit

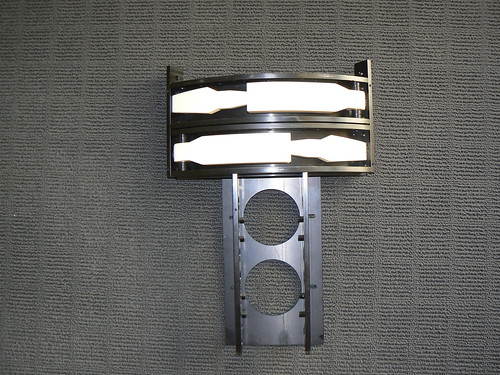
Finally I used silicone to glue the details onto the battery boxes

R2D2 left foot

Just need to spray the braided battery hosings that I also got at Bunnings - fast becoming my favourite aussie store!!!

Sunday, August 15, 2010

First steps

As most R2 to builders are aware this is always a special moment - the first time R2 takes his first steps.
This is the first test of the drive system of my new r2


I'm not too happy with the centre foot and the two 2.5" casters and I think I'll need to put ankle locks on all 3 feet and still need to sort the clearance of the casters or look into getting some different ones

Hopefully in the next couple of weeks I'll be able to sort those issues out and then route the power up into the dome for the lights

R2 on his back - sorting the drive train


Started to tidy the electrics panel - needs a bit more work but its getting there

Sunday, August 08, 2010

Power to the dome

Today I spent an hour soldering the DB25 connectors onto a slip ring I bought from ebay
Scot Gray has made a board that plugs on each end

The slip ring means that power can be provided up in to the dome and the dome can spin all the way round without snagging any cabling

Slipring

Tuesday, April 27, 2010

Outer feet, pocket vents and thinkgeek sound

Lots of progress made over the Anzac weekend
First up was prepping and painting the JAG outer feet before attaching them to the legs and threading the power cables through


Secondly I painted and attached one of the pocketed vents into the front skins


and finally I finished the thinkgeek t-shirt modification (thanks to Andy Schwarz for the idea) to attach it to a 12ch remote. At the moment I've not bothered adding in an amp as I think it should be loud enough but I'll wait and see

The thinkgeek t-shirt came with a sound board and a wired remote. The wired remote was cut off and connected to a wireless 12 channel remote which I got from ebay

12ch wireless remote

Sunday, April 11, 2010

Rear Logic Display Progress

I finally got round to soldering the rest of the led's for the rear logic display this weekend and quickly connected it up to the rest of the jedi control system

The display already looks fantastic even though some of my soldering is not up to scratch as there are a number of failed lights - I'll need to get round to fixing them at some stage


The status of the various components of the Jedi Control can also be seen


The jedi control system will be an excellent addition to R2 once it is all put together

More info about jedi control at http://www.jedicontrol.com/

Thursday, March 25, 2010

Foot drives and motors

The JAG foot drives have arrived and here I have just fitted the 12v NPC 2212 motor
Fantastic piece of engineering


The foot shells should be ready in a month so then I'll at least be able to get R2 on 2 feet
I also still need to shave the top of the motors down a little so that they can fit neatly inside the battery boxes

Tuesday, March 23, 2010

Rear skins

I have cut the rear skin panel and started to test fit them onto the frame


The trouble I had last time was not getting the door to wrap around the frame correctly so this time I'll make sure I bend the aluminium into shape before glueing

Monday, March 15, 2010

Periscope

I've been playing around with fitting a periscope in the dome
I have the DD lifter and a resin periscope - DD ran off with my aluminium persiscope a couple of years ago :-(

Here you can see the lifter on the right and periscope housing and pie panel on the left


I have fitted it to my JAG dome plate although it still needs adjusting to make it fit perfectly


I am waiting on a better periscope housing from Marco which will have a real lens in it and I'll hopefully add some led lights inside

Wednesday, March 10, 2010

Horseshoe and the wonky button

Here is a completed shoulder horseshoe and I've made the top button stick up at an angle as its seen on a lot of screenshots but I'm unsure and may take the wonkiness out

Sunday, March 07, 2010

Utility Arms

The resin utility arms arrived from Marco and they're really good
I just needed to file down the back edges to make them fit the skins better to enable them to open and close fully if I ever go down that route
This was expected and was a simple job to do

Next I just fitted them into the COM8 arm holder and they look a really neat fit - nexst up I'll need to paint them but what with time being short due to theAdelaide Festival this month I'm not sure when I'll get to do that!