Sunday, August 15, 2010

First steps

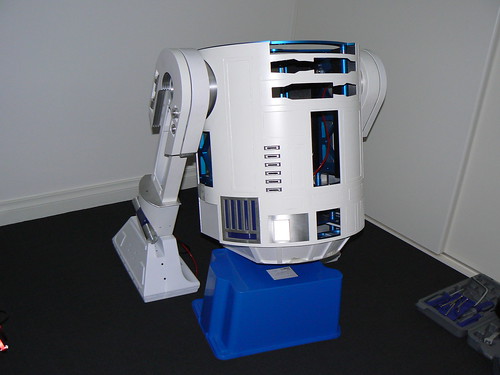
As most R2 to builders are aware this is always a special moment - the first time R2 takes his first steps.
This is the first test of the drive system of my new r2


I'm not too happy with the centre foot and the two 2.5" casters and I think I'll need to put ankle locks on all 3 feet and still need to sort the clearance of the casters or look into getting some different ones

Hopefully in the next couple of weeks I'll be able to sort those issues out and then route the power up into the dome for the lights

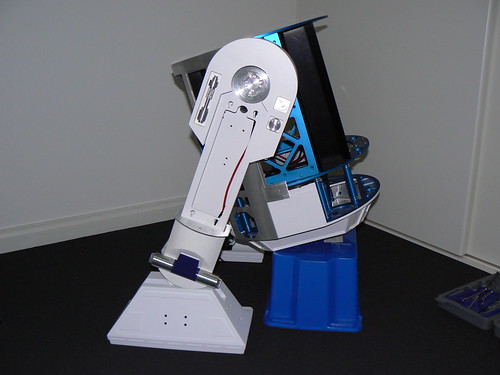
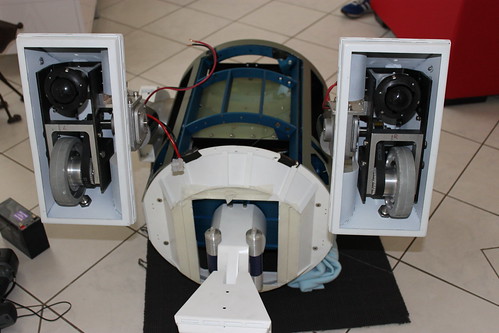
R2 on his back - sorting the drive train

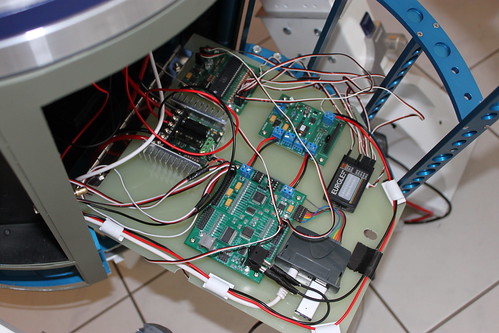
Started to tidy the electrics panel - needs a bit more work but its getting there
Sunday, August 08, 2010

Power to the dome

Today I spent an hour soldering the DB25 connectors onto a slip ring I bought from ebay
Scot Gray has made a board that plugs on each end

The slip ring means that power can be provided up in to the dome and the dome can spin all the way round without snagging any cabling

Slipring

Tuesday, April 27, 2010

Outer feet, pocket vents and thinkgeek sound

Lots of progress made over the Anzac weekend
First up was prepping and painting the JAG outer feet before attaching them to the legs and threading the power cables through


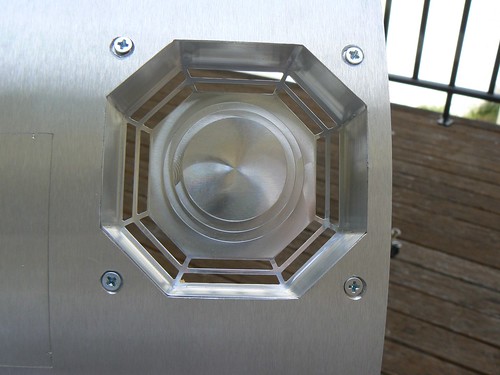
Secondly I painted and attached one of the pocketed vents into the front skins


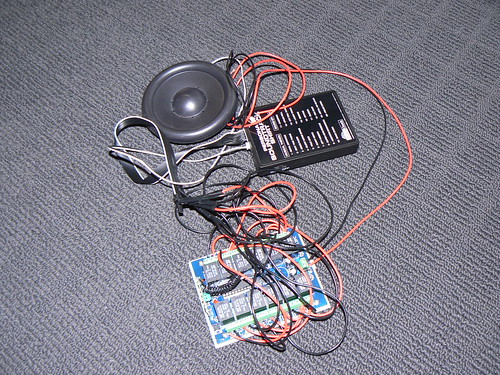
and finally I finished the thinkgeek t-shirt modification (thanks to Andy Schwarz for the idea) to attach it to a 12ch remote. At the moment I've not bothered adding in an amp as I think it should be loud enough but I'll wait and see

The thinkgeek t-shirt came with a sound board and a wired remote. The wired remote was cut off and connected to a wireless 12 channel remote which I got from ebay

12ch wireless remote

Sunday, April 11, 2010

Rear Logic Display Progress

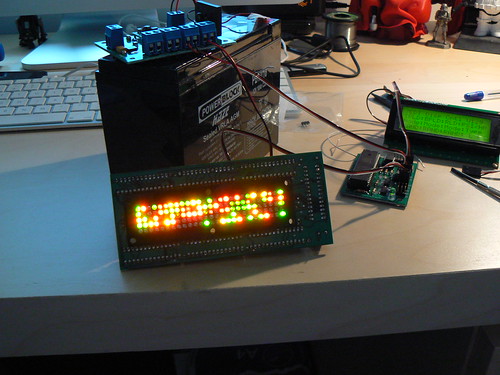
I finally got round to soldering the rest of the led's for the rear logic display this weekend and quickly connected it up to the rest of the jedi control system

The display already looks fantastic even though some of my soldering is not up to scratch as there are a number of failed lights - I'll need to get round to fixing them at some stage
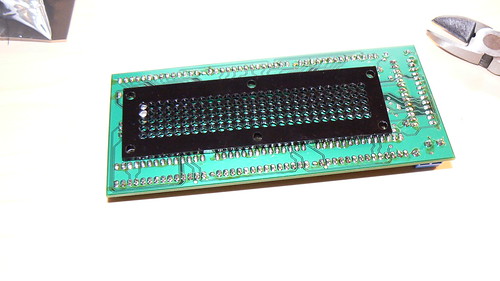


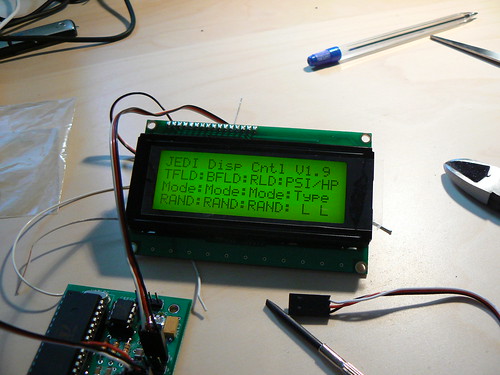
The status of the various components of the Jedi Control can also be seen


The jedi control system will be an excellent addition to R2 once it is all put together

More info about jedi control at http://www.jedicontrol.com/

Thursday, March 25, 2010

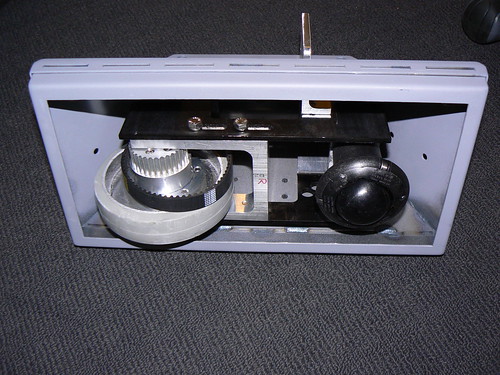
Foot drives and motors

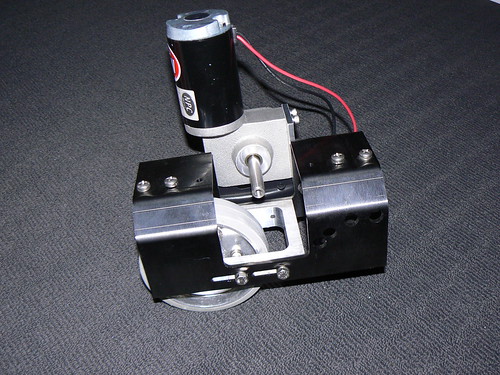
The JAG foot drives have arrived and here I have just fitted the 12v NPC 2212 motor
Fantastic piece of engineering


The foot shells should be ready in a month so then I'll at least be able to get R2 on 2 feet
I also still need to shave the top of the motors down a little so that they can fit neatly inside the battery boxes

Tuesday, March 23, 2010

Rear skins

I have cut the rear skin panel and started to test fit them onto the frame


The trouble I had last time was not getting the door to wrap around the frame correctly so this time I'll make sure I bend the aluminium into shape before glueing

Monday, March 15, 2010

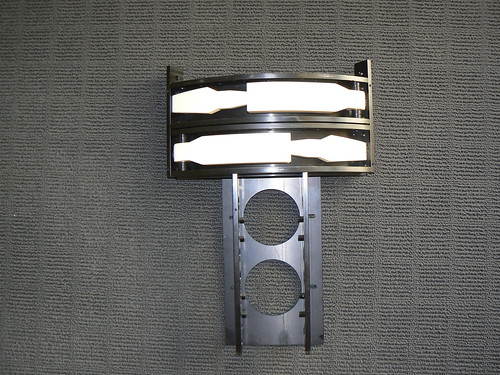
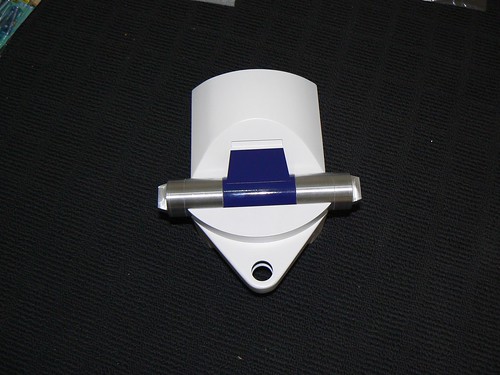
Periscope

I've been playing around with fitting a periscope in the dome
I have the DD lifter and a resin periscope - DD ran off with my aluminium persiscope a couple of years ago :-(

Here you can see the lifter on the right and periscope housing and pie panel on the left


I have fitted it to my JAG dome plate although it still needs adjusting to make it fit perfectly


I am waiting on a better periscope housing from Marco which will have a real lens in it and I'll hopefully add some led lights inside

Wednesday, March 10, 2010

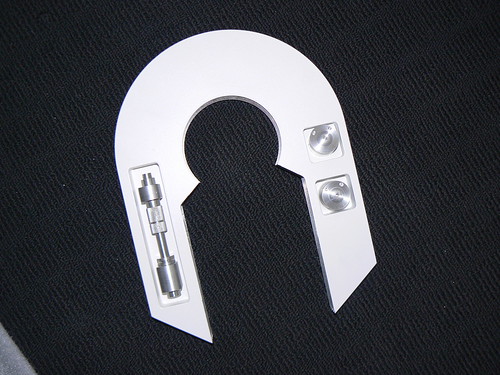
Horseshoe and the wonky button

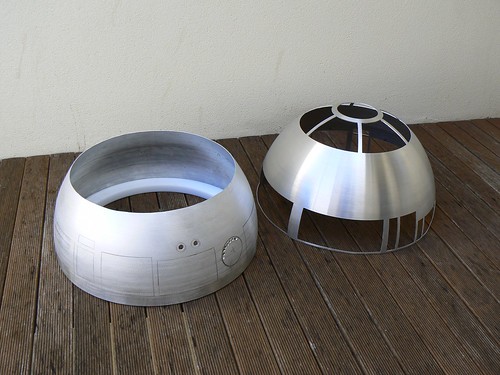
Here is a completed shoulder horseshoe and I've made the top button stick up at an angle as its seen on a lot of screenshots but I'm unsure and may take the wonkiness out
Sunday, March 07, 2010

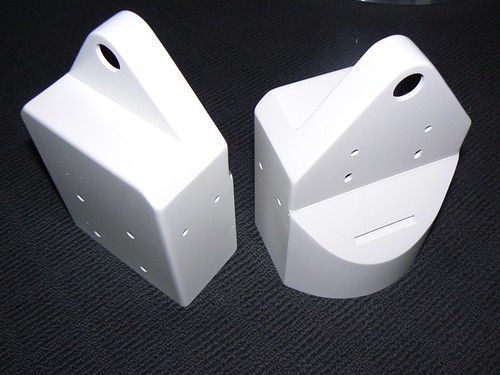
Utility Arms

The resin utility arms arrived from Marco and they're really good
I just needed to file down the back edges to make them fit the skins better to enable them to open and close fully if I ever go down that route
This was expected and was a simple job to do

Next I just fitted them into the COM8 arm holder and they look a really neat fit - nexst up I'll need to paint them but what with time being short due to theAdelaide Festival this month I'm not sure when I'll get to do that!

Sunday, December 13, 2009

Ankle and leg progress

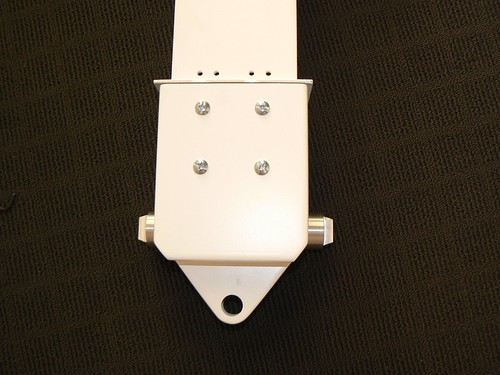
Over the past few days I have managed to spray the aluminium ankles from JAG and the cylinder holders, cylinders and wedges from Russ Brown


I then screwed the details into place on the ankles - well I tried but my chubby hands and fingers are too big to fiddle around inside the ankle so I got Caroline to help out


I then bolted the ankles onto the legs using 4x 1/4"x38mm bolts - I still need to get some washers for that


The legs are coming along nicely and all I need now are the shoulder details, ankle side details, boosters and booster covers


With Christmas coming up we're pretty busy but I still hope to make some progress on the skins and dome over the next few weeks

Wednesday, December 02, 2009

R2 Blue

I've finally chosen the blue spray paint for artoo and have started to paint the various panels...


It's a much darker blue than my first droid and is more like that used in empire. There are various methods of getting the R2 colour right using a mixture of paints etc but that seems like a lot of hassle and can become a nightmare trying to match damaged panels later down the line

Tuesday, November 10, 2009

Skins and bits and pieces

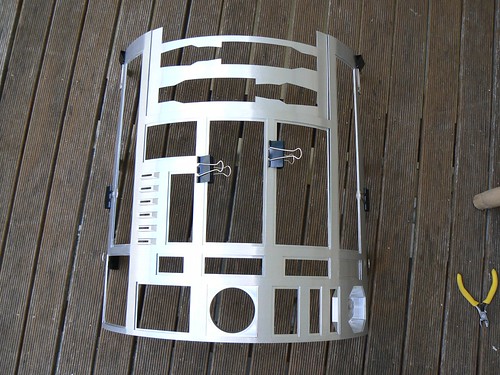
I have started work on the skins
They are 2 piece aluminium skins from John Sherrell.

Front skins (outer on left )...


I had these on my old droid but in my eagerness last time I glued them together and then had to glue the parts on like oct ports, power couplers etc on after using liquid metal. This time I've screwed them on through the inner skin and the outer skin will hide the countersunk screws - much better solution.

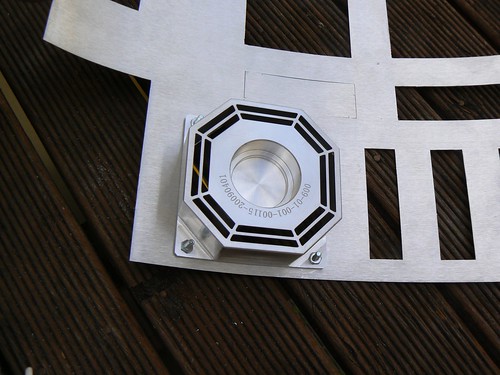
Here is the octagon port screwed into place....


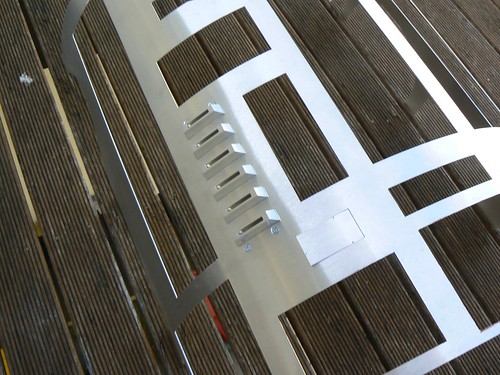
and the coin slots....


coin slots, octagon port and power coupler screwed onto skins and outer skin attached temporarily....


and just a quick shot showing R2 coming together nicely...

Thursday, November 05, 2009

Painting

I have been busy paniting various parts white over the past couple of weeks and have found some handy props from Bunnings


Here is one of the painted JAG legs including the horeshoe....


The big rectangular hole in the centre is the new design for the boosters that JAG will be making later in the year :-)

and the completed TWD skirt.....

Thursday, September 10, 2009

Rear Logics

Having no experience of using a soldering iron I have started work on assembling the rear logic boards from the JEDI controller run

There are over hundred LED's that need to be soldered into place.....


This is quite a daunting task but I will stick at it!!

Here it is with 2 LED's in place

Saturday, August 15, 2009

Dome progress and a little help

I have spent a bit of time today sorting the inner dome out.

The outer dome sat too high on the inner dome leaving a gap between the bottom and the bottom ring so I started to sand the inner dome but after a while this didn't seem to be working and my arm was aching despite getting a little help from a lego y-wing pilot


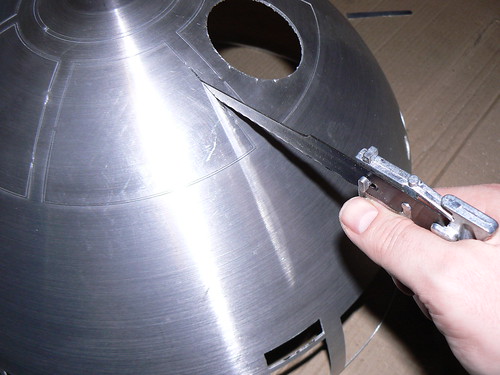
I then decided on a more drastic course of action - cutting the dome in half which should at least make the outer dome sit 1mm lower and thus make it seem right

Here's me cutting the dome


It also may have the added bonus of making working on the dome a little easier in the long run

Here you can see the cut inner dome with the outer dome


The Y wing pilot has also helped make the holes for the holoprojectors in the inner dome

Sunday, July 19, 2009

Dome work

I've started work on the dome
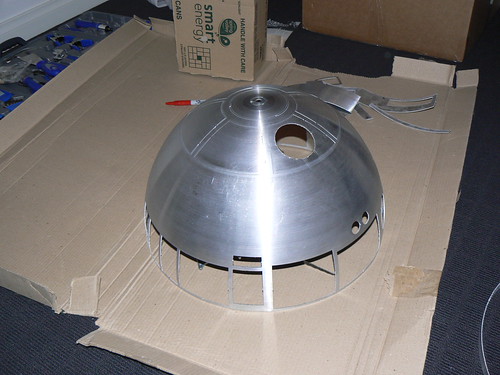
Its a 300mm laser cut dome from Daren Murrer

The dome consists of an inner complete dome and an outer with the details. I have started cutting the detail pieces out and cleaning the slag left behind in the laser cutting process.

Here is the outer dome with the lower panels cut out...


This is the little saw I'm using to cut the panels out and then I use a small file and emery board to get rid of the slag


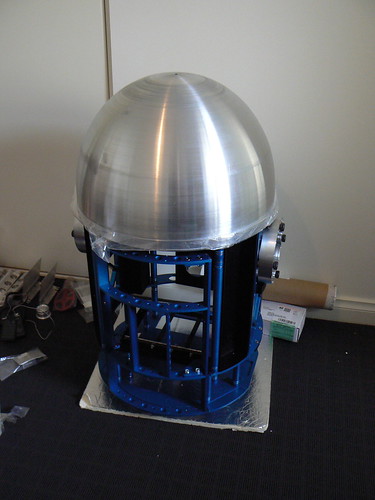
This is the size of the dome sitting on the frame

Saturday, July 04, 2009

Droid number 2 frame complete

I finished building the frame today and have also received our shipping crates from the UK which included several astromech parts

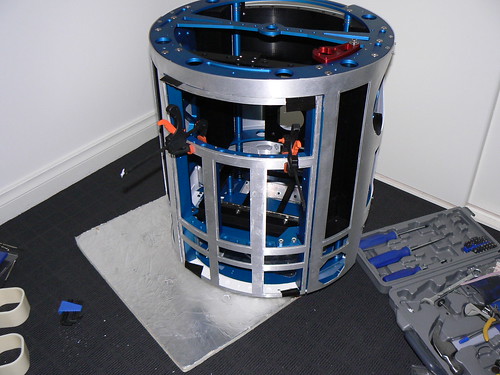
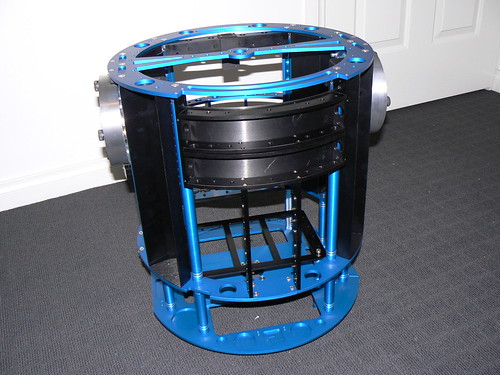
Here is the completed Com8 frame....


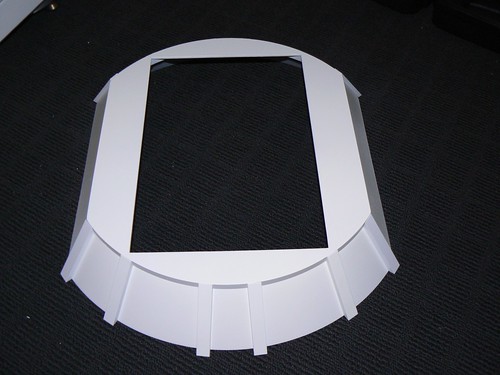
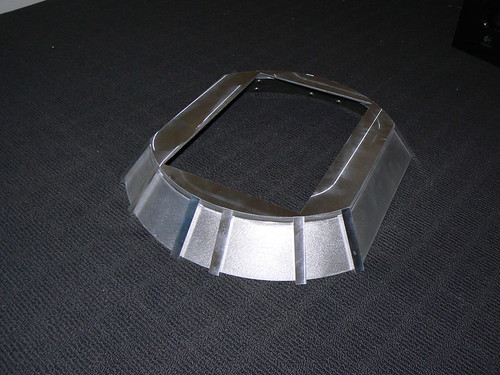
and here is the skirt from Totally Wired Droids....


Hopefully next week I'll get some time to start work on the 300mm dome

Friday, July 03, 2009

Droid Number 2

I have now started to build my second droid and this time it will be an all aluminium unit where possible

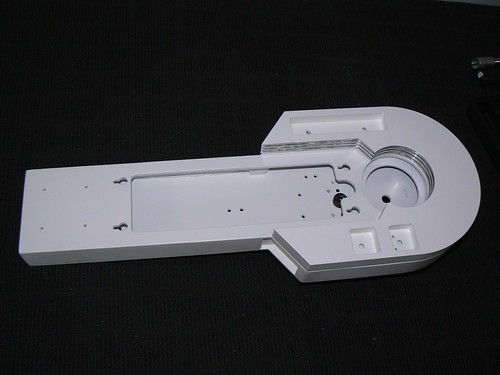
Starting with the frame I bought a Com8 from James in Texas and what a piece of machining this is - anyone looking for the perfect frame then this is it as far as I'm concerned

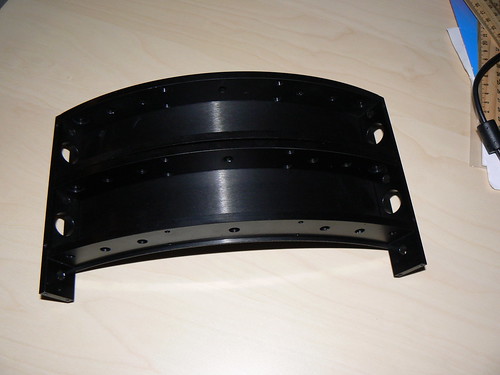
Here is the kit of parts you get with the premium package....


It goes together quite easily

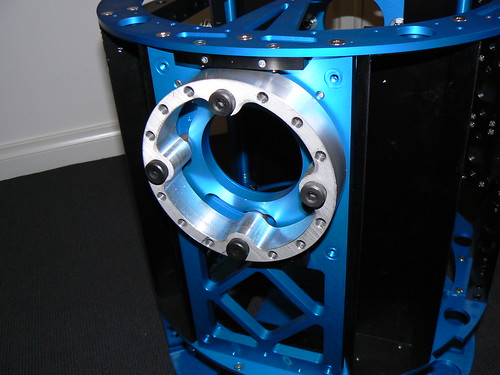
Here are the holders for the utility arms...


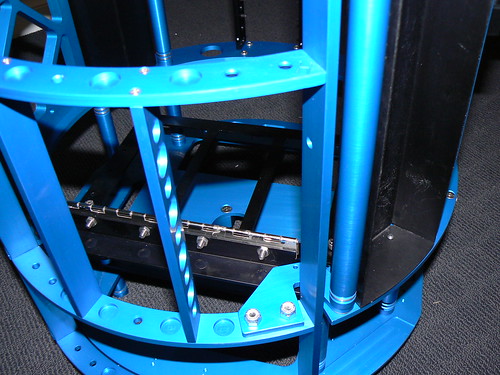
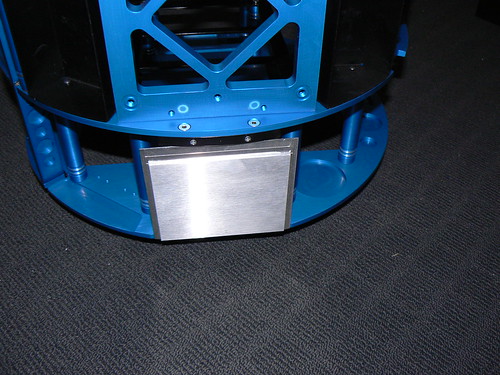
The really neat thing is the thought that has gone into the build of the frame and includes a lot of extras....

door latch


shoulder flanges


battery holders


side panel


At this stage I've still not decided upon what designation of droid I'm going to build